How to Setup a Loyalty Account
Loyalty accounts provide incentives to “members” in order to encourage repeat visits. This feature offers two different programs: member discounts and frequent shopper rewards. The discount application entitles club members to discounts on one or more wash products. The frequency application functions as an “electronic punch card” that provides rewards for repeat customers (e.g. buy 4, get the 5th for free). A program must be setup for both options.
This feature requires a minimum version of 1.52 for the Sierra® management system.
The process for setting up and selling loyalty accounts is:
- Set up an account program through the Accounts/Programs function of the Sierra management system.
- Set up an individual account through the Accounts/Accounts function of the Sierra management system.
- Set up a button on the Sales/Console page for issuing new accounts.
- Use the sales button on the Sales/Console page to issue a new account for a customer.
Setup Loyalty Account Program
To setup a new loyalty account program, go to the Accounts tab, then select Programs from the left frame.
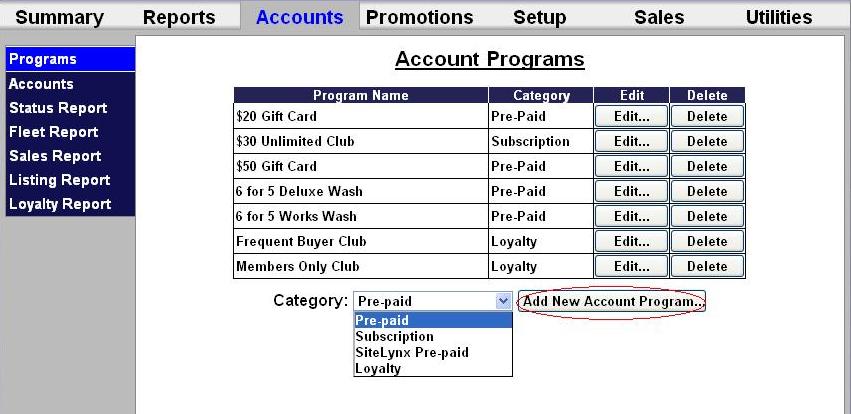
Select Loyalty account from the drop-down menu below the table and click Add New Account Program. The Edit Account screen will be displayed.
To setup a rewards program, follow the directions, below. For a discount program, scroll further down this tutorial.
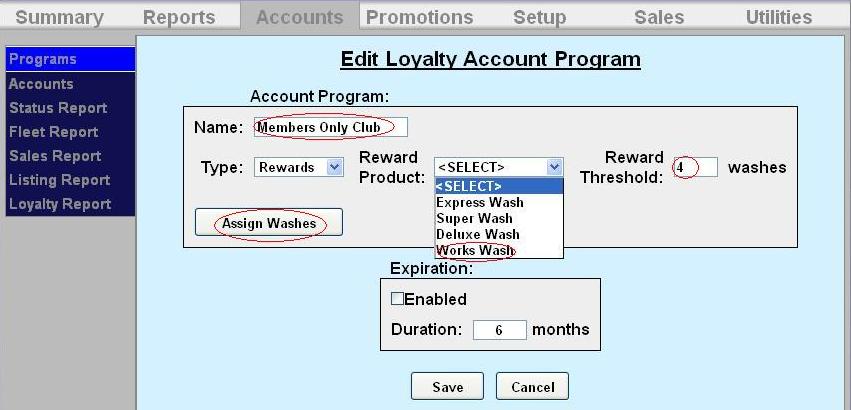
- Enter the name of the account program.
- Select Rewards from the first drop-down menu. Select the wash package to be rewarded from the next drop-down menu.
- Enter the rewards threshold. This is the amount of washes required to be purchased before the customer is rewarded with the free wash in the previous step.
- If you wish for the account to have an expiration date, click Enable, then enter the duration of the account program. NOTE: This schedule runs in calendar months. The account will expire on the last day of the month, not 30 days from the issue date.
- Click Assign Washes.
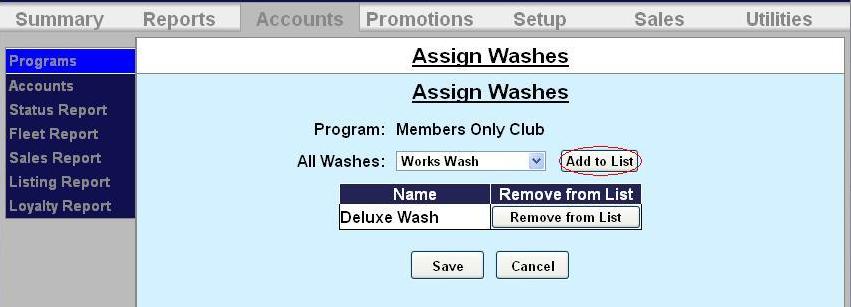
- Select a qualifying wash package from the drop-down menu and click Add to List. Qualifying wash packages are the washes that the customer can purchase to qualify for the reward.
- Repeat step 6 for each qualifying wash package.
- Click Save. Click Save again.
For a discount program, follow the directions, below.
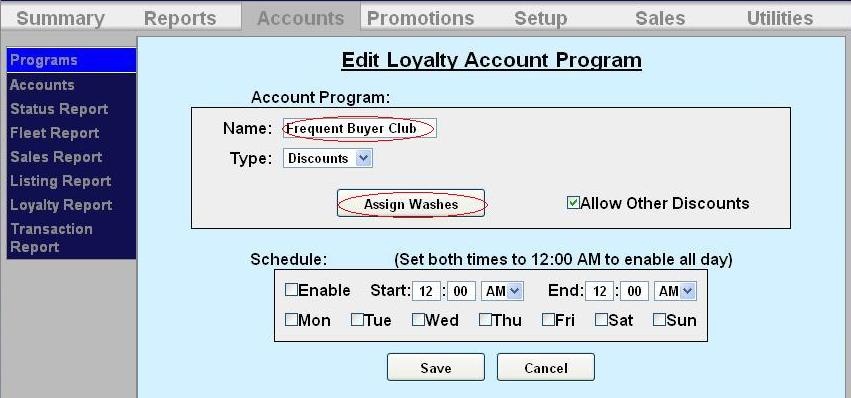
- Enter the name of the account program.
- Select discount from the drop-down menu.
- Enable Allow Other Discounts if you will allow other discount promotions to be used with the loyalty discount.
- If you wish to limit usage of the account to certain days and hours, click Enable under the schedule block and enter the valid times and days of the week.
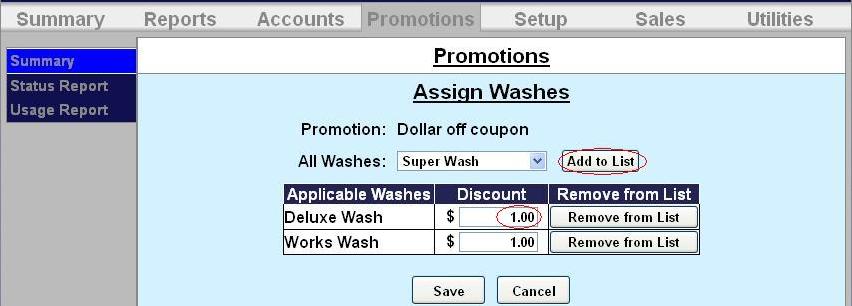
- Click Assign Washes.
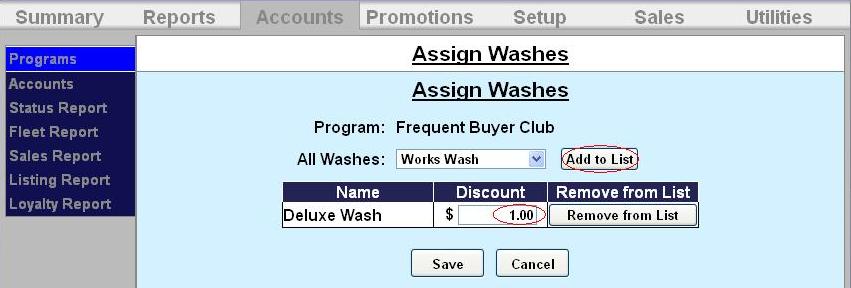
- Select a wash package to be discounted from the drop-down menu and click Add to List.
- Repeat step 6 for each wash package that will be discounted for the loyalty program.
- Enter the monetary discount for each wash.
- Click Save. Click Save again.
Set up an individual account
To setup a new loyalty account, go to the Accounts tab, then select Accounts from the left frame.
Select Loyalty account from the drop-down menu below the table and click Add New Account . The Edit Account screen will be displayed. 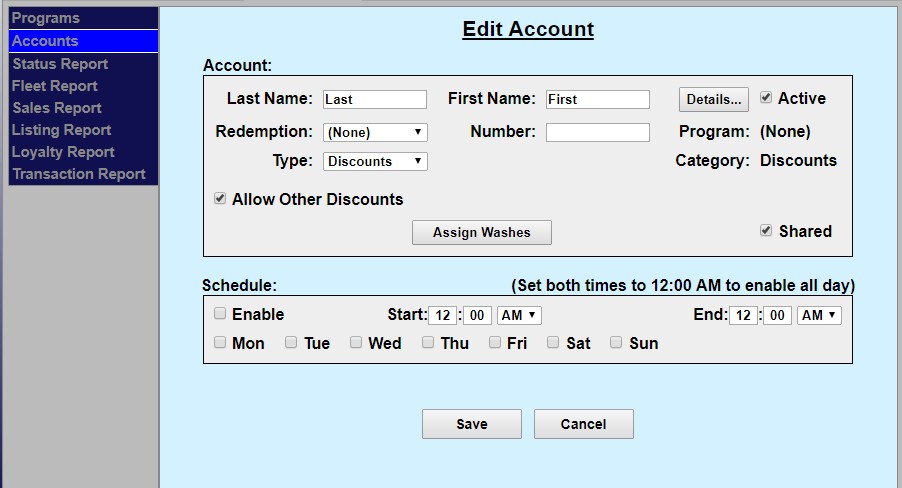
- The account set-up page will show values that were set-up for the account program but additional data will need to be entered for the account holder as follows:
- Last and First name of the Account holder. A mailing address can be entered if desired by selecting the ‘details’ tab.
- Redemption method – select code, card, barcode or RFID from the drop down menu.
- Number – Enter code, card number or RFID tag number.
- Select the type of loyalty account- discount or reward. Chose whether or not you will also allow other discounts to be used at the same time.
- If you wish to limit usage of the account to certain days and hours, click Enable under the schedule block and enter the valid times and days of the week.
- Click Save.
Setup Sales Button
To setup the sales buttons, go to the Setup tab and click Sales on the left frame.
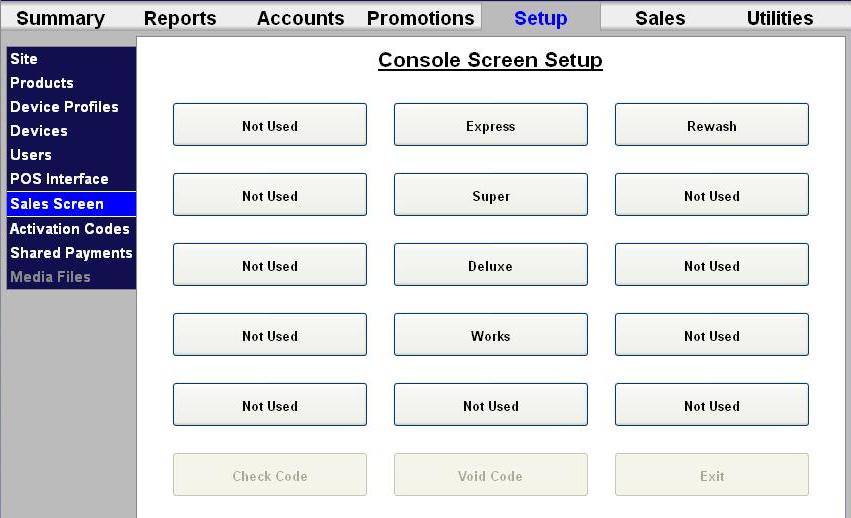
Click on a Not Used button to configure it.
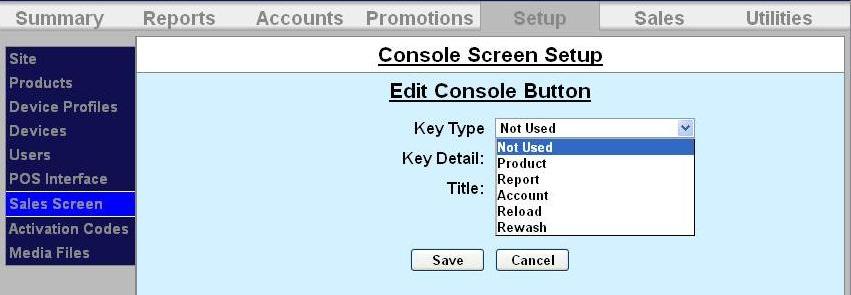
Select Account from the drop-down menu.
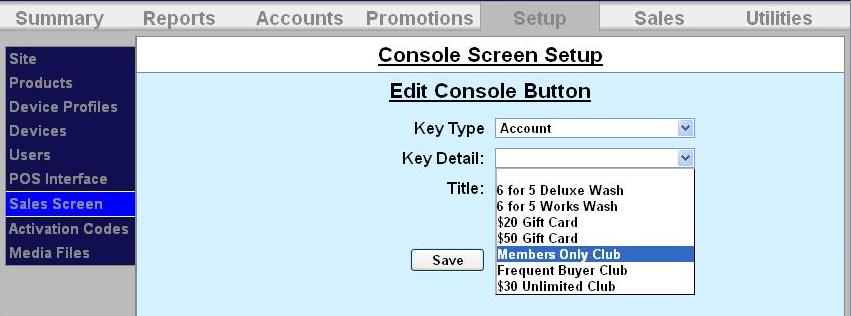
Select the account from the drop-down menu. In this example, we are setting up the Members Only Club sales button.
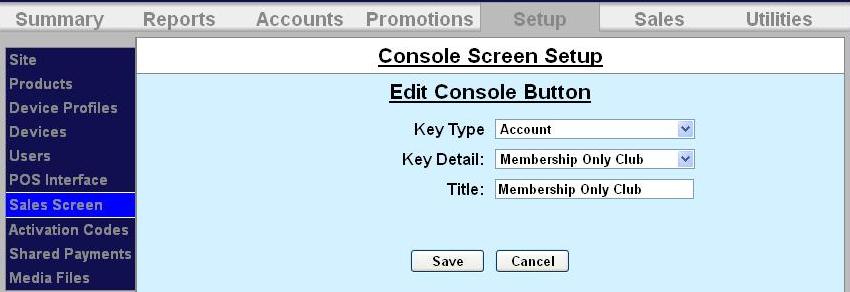
The title field for an account will automatically populate. Click Save. Repeat these steps for each sales button you’d like to setup.
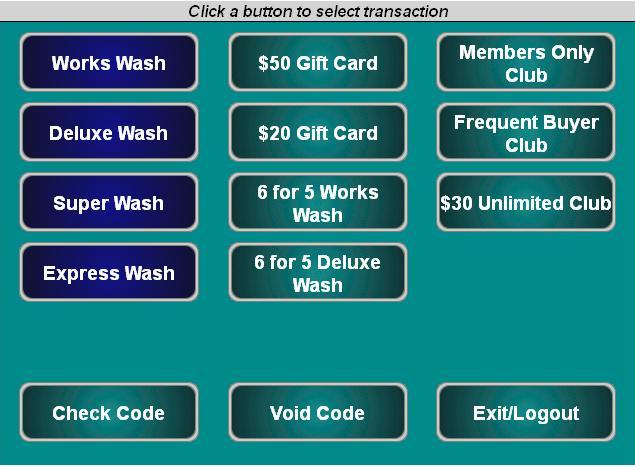
Now go to the Sales tab at the top of the screen. Each sales button will be displayed.
Issue a New Account for a Customer
To issue a new account, go to the Sales tab at the top of the screen. Follow the instructions in gray at the top of the sales screen. To purchase a new account, click on the account.
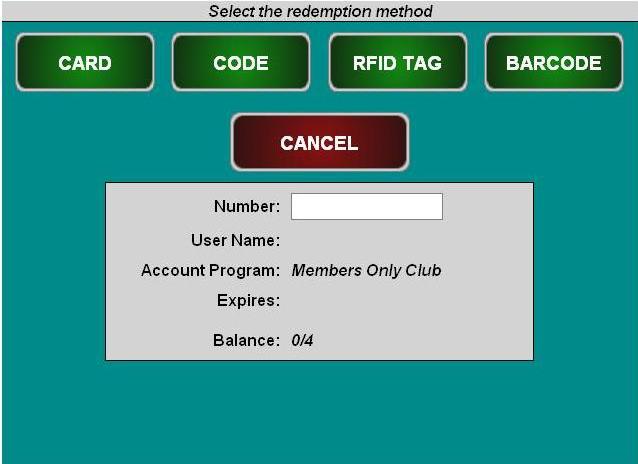
Select code, card, RFID tag or barcode.
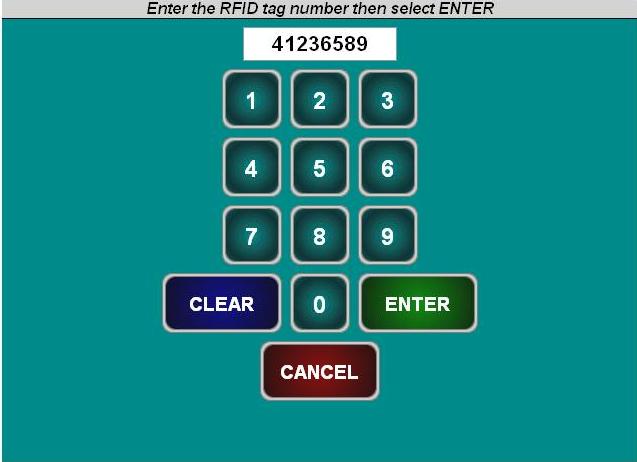
Enter the code, barcode, 8 digit RFID tag or card number.
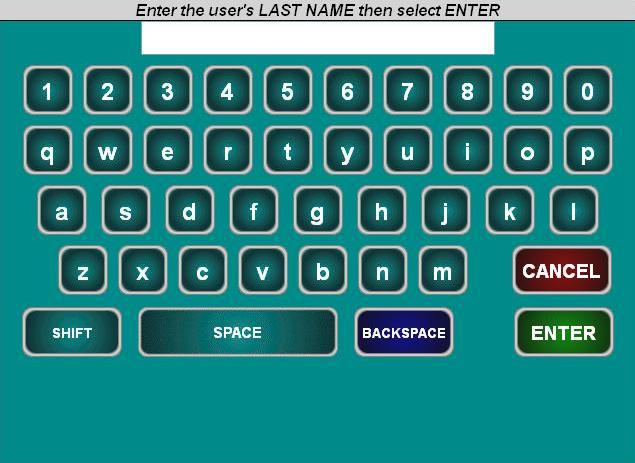
Enter the account holder’s last and first name.
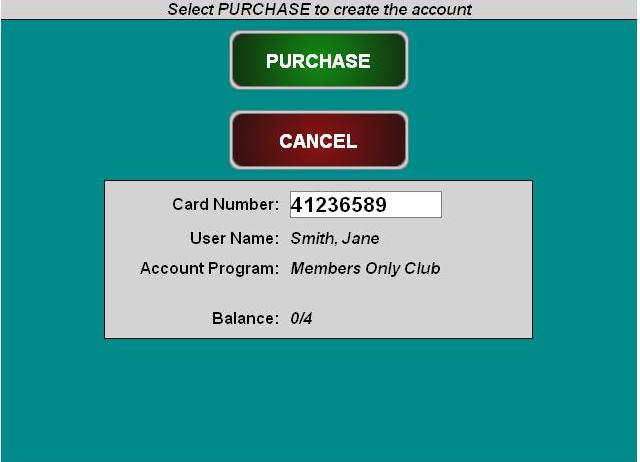
Click Purchase to finalize the account purchase.
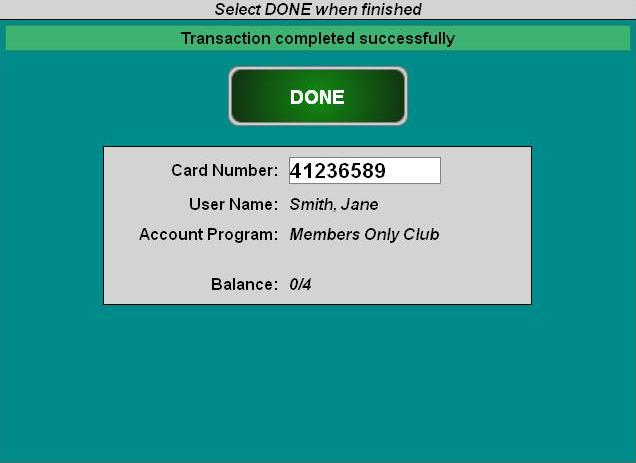
Click Done.