How to Setup a Hidden Wash Package
A hidden wash is a specific wash package that can be assigned to, and is visible only to, account holders at the car wash entry system and not offered for purchase to regular customers. A hidden wash may be assigned to a product-based pre-paid, fleet, or subscription account. A hidden wash may have up to 4 added services assigned to the wash package.
This feature requires the Sierra management system to have a minimum version of 1.52.
The process for setting up a hidden wash package is:
- Setup a product-based account through Accounts/Accounts function of the Sierra management system.
- Setup a Product through the Setup function of the Sierra management system.
- Add the wash package through the Wash Dispensing function of the device profile.
- Download the device profile.
Setup Pre-paid Product-Based Account Program
To setup a new pre-paid account program, go to the Accounts tab, then select Programs from the left frame.
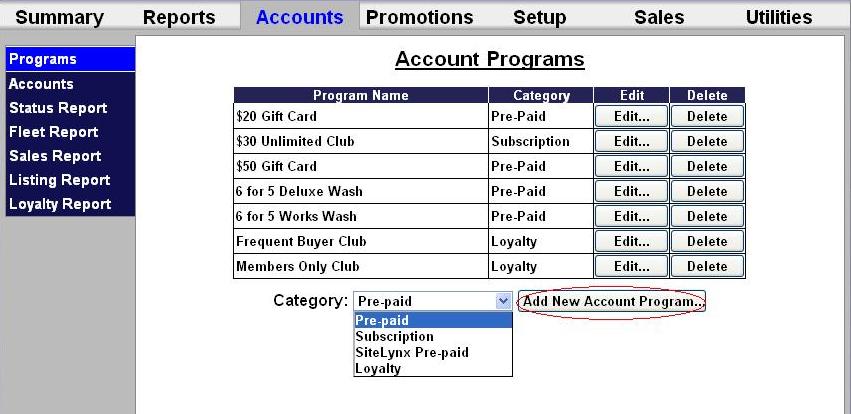
Select Pre-paid account from the drop-down menu below the table and click Add New Account Program. The Edit Account screen will be displayed.
To setup a product-based account, follow the directions, below.

- Enter the name of the account program.
- Select product-based account from the drop-down menu. A product-based account is useable for only (1) wash product (which is selected from a drop down list).
- Enter the Issue Price (or selling price) that will be reported when a new account is issued (or sold) and then enter number of washes for which the account can be redeemed.
- You may limit the use and only allow a certain amount of washes per day, week, month or year. To do this, click Limit Use and enter the amount of washes and the time increment from the drop-down menu.
- If you wish for the account to have an expiration date, click Enable, then enter the duration of the account program. NOTE: This schedule runs in calendar months. The account will expire on the last day of the month, not 30 days from the issue date.
- If you wish to limit usage of the account to certain days and hours, click Enable under the schedule block and enter the valid times and days of the week.
- Click Save.
How to Add Account Product
Go to the Setup tab, then select Products on the left frame.
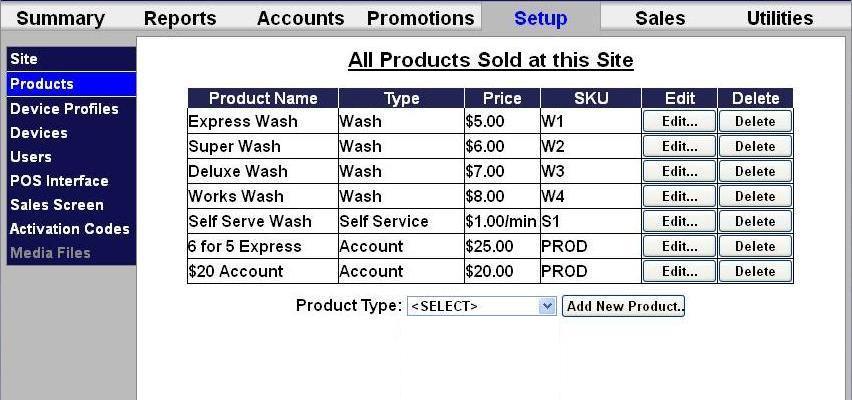
To add a new product, select Account from the drop down menu below the products table then click the Add New Product button.

- Enter the Product Name. This field is limited to 24 characters and will be the product name, which is displayed on reports.
- Select the account program from the drop-down menu.
- SKU — This not used in a standard application and should be left blank
- Enter the Display Name. This field is limited to 24 characters. This name will be displayed to the consumer (on the wash selection screens), if it’s assigned to a profile.
- If you have multi-site management and want this product to report to the Site Lynx server, check Report Sale to Site Lynx.
- Enter the code length for the code on the receipt.
- Click Save.
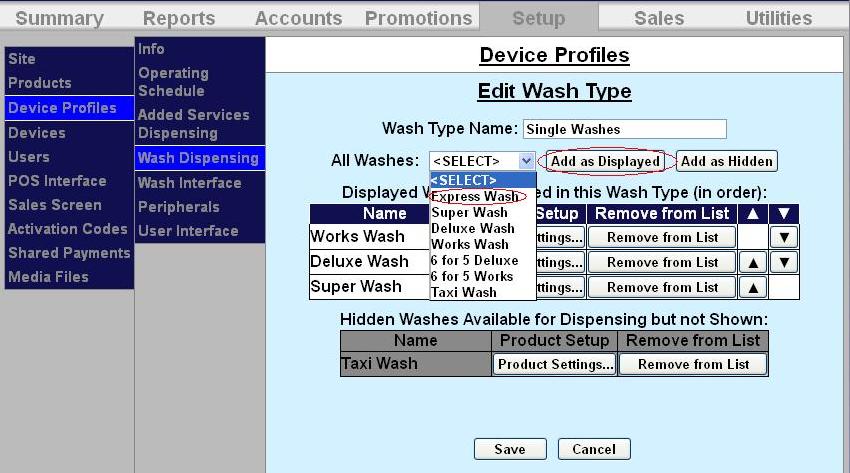
Add Wash to Wash Dispensing
Enter the wash type name. To add a new wash package, select the desired wash from the drop down menu at the top of the screen and click Add as Hidden. Click the Product Settings button next to the wash name to configure the wash.
- Select the relay pattern that the wash equipment requires to deliver the desired wash package. Normally, only one relay output is turned on for each wash package. The alternate relay pattern is used to notify the wash controller of a change that’s required in the wash service. A typical use would be to set a “hybrid” wash for either a “touch free” or “soft touch” wash delivery. When an alternate relay pattern is enabled, a customer option message must also be set in the User Interface set-up.
- Select any Added Services you wish to offer with this wash package from the drop-down menus in the order you wish them to be displayed.
- If you will be dispensing tokens with the wash package, enter the quantity of tokens that will be dispensed.
- Click on Edit Wash Details.
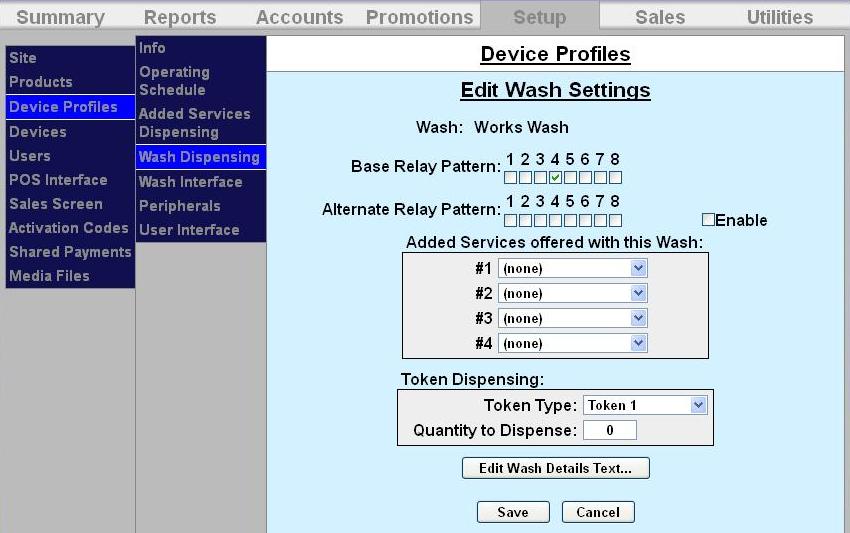
- Enter Details for the wash, if desired. These details are displayed when the Wash Info button is pressed on the Sales screen. The wash details screen allows (7) lines of 16 characters per wash. Click Save.
- Edit each wash package as stated above and click Save.
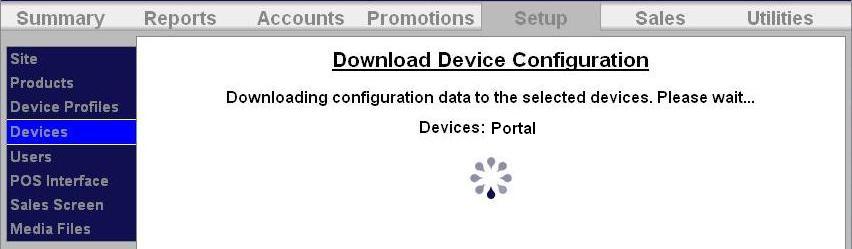
Download Device Profile
Download the device profiles to refresh the products on the unit.
- Click on Devices in the left frame.
.jpg)
- Click Download next to the unit you would like to refresh.